
The .NET Framework 3.5 is a Microsoft tool that powers lots of old apps, games, and business software. While modern Windows includes newer .NET versions out of the box, version 3.5 stays turned off unless you flip the switch on Win 10 or 11. Running legacy programs might trigger an alert telling you to get it set up first. Here’s how to turn it on – without hassle – using several trusted methods.
Method 1:
Enable .NET Framework 3.5 Using Windows Features
This one’s easiest plus plenty folks suggest it.
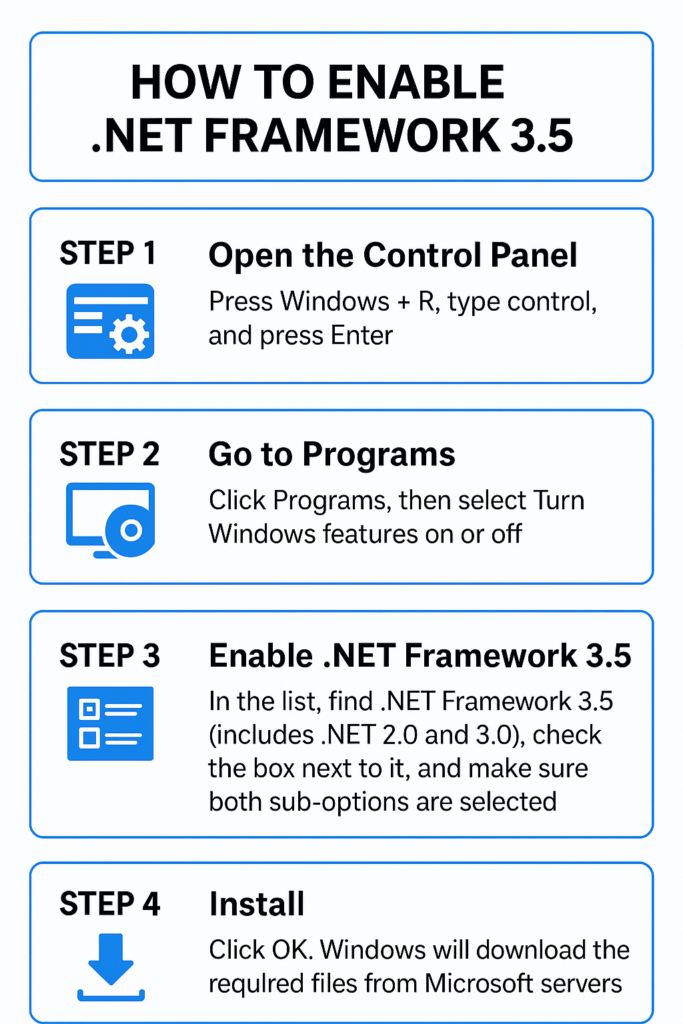
- Open the Control Panel
- Hit Win + R, enter “control”, then tap Enter.
- Go to Programs
- Select Programs, after that choose Turn Windows features on or off.
- Enable .NET Framework 3.5
- In the list, look for .NET Framework 3.5 – this one also covers .NET 2.0 along with 3.0.
- Pick the option by ticking the square beside it.
- Check that each choice is picked.
- Install
- Click OK.
- Windows grabs what it needs from Microsoft’s online storage.
- Restart
- After it’s installed, reboot the machine – only if it asks you to.
- This approach needs the internet to be working.
Method 2:
Enable .NET Framework 3.5 Using Windows Update Prompt
If you start a program needing .NET Framework 3.5, your PC might pop up a message right away.
- Tap “Install this feature” if you see the prompt.
- Windows’ll grab the framework on its own then set it up.
- If you need to, turn it off then on again.
- This works fast if you’re using old software.
Method 3:
Enable .NET Framework 3.5 Using Command Prompt (Offline Method)
This approach works if there’s no internet around.
Requirements:
- A Windows setup disc or image file.
- Steps:
- Put in the Windows install disc or load the ISO file.
- Run Command Prompt with admin rights.
- Use this command – swap D: with your drive letter
- DISM /Online /Enable-Feature /FeatureName:NetFx3 /All /Source:D:\sources\sxs /LimitAccess
- Hit Enter then hold on till it’s done.
- Restart your system.
- This approach sets up .NET Framework 3.5 using the built-in Windows setup files instead.
Method 4:
Enable .NET Framework 3.5 Using Group Policy (For IT Admins)
This approach works well in business settings or large organizations.
Hit Win + R, enter gpedit.msc, then tap Enter.
Navigate to:
- Computer Configuration > Administrative Templates > System
- Select to adjust options for extra features during setup.
- Select Enabled.
- Look up fixes plus extra tools through Windows Update right away.
- Select Apply, after that confirm with OK.
- Give another go at turning on .NET Framework 3.5 through Windows Features.
- Common Errors and Solutions
- Error 0x800F081F or 0x800F0906
- These mistakes often happen when source files are gone or Windows Update is restricted. Try the offline DISM fix instead.
Slow installation
Check your Wi-Fi works well – or try installing without online access.
Why .NET Framework 3.5 Is Still Important
Older programs like finance apps, factory systems, or classic games need .NET 3.5 to run. Although updated .NET options are available, they can’t swap in for version 3.5 because things might break.
Leave a Reply