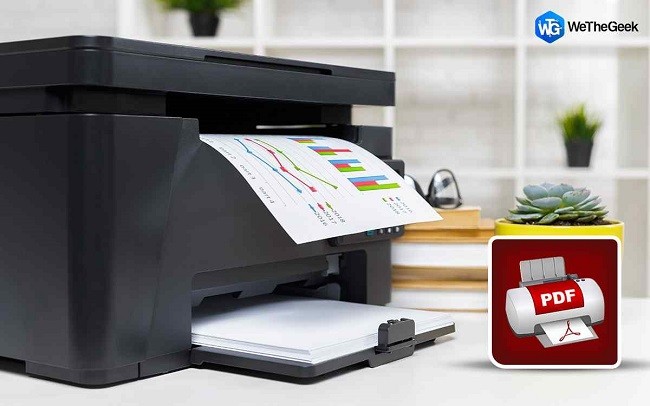
How to Enable Print to PDF in Windows 10
If you’re looking for a quick and easy way to print your PDF files, you’ll want to learn how to enable print to PDF in Windows 10. Creating PDF files can be a time-consuming process, but enabling this feature in Windows 10 should make the process much easier. Read on for more information. Listed below are some steps to enable this feature. To get started, download do PDF, a free PDF converter.

First, open any application and look for “Print to PDF” on the menu. Select this option to print any file. It should appear as an option. Once selected, the PDF will be saved to your iBook. To use this feature, you must have the latest version of Windows 10. If your printer does not have an up-to-date driver, it might be a corrupted driver. To fix this, you can restart your printer or reinstall the driver Google.
Alternatively, you can also install a new PDF driver. To do this, open a document and tap the “Share” button – the square with an up-arrow on it. Click on the option to save the document to iBooks and restart your computer. Once the PDF file has been saved, it is available for you to print. You can now open and edit PDF documents on your computer. You can also adjust the size of images.
Enable Print To PDF Driver Is Updated:
Ensure that your printer driver is updated. You can also download the latest version from the manufacturer’s website. If you are unable to find the Print to PDF option in your printers list, try running Windows Update and refresh the list. If you don’t see it, restart your printer and select it. Once you’ve saved your changes, reboot your device. There are other solutions for this problem, but these are the most effective ones.

To enable print to PDF, choose “Print” from the menu in the window where you’d like to save your file. Then, click on the “PDF” icon at the bottom of the print dialog. Afterwards, choose where you’d like to save the file, and it will automatically save it as a PDF file. After that, you’ll need to select a location for the PDF file, and choose the correct driver.
Enable Print To Feature Allows You To Print:
After selecting your destination in the section, click on the icon for the PDF printer. Then, select the PDF file from the file. After that, choose a name for your file. After that, you can make any necessary changes in the PDF file. Once you’re done, select the “Print to PDF” button to print your documents. Then, you can browse to the folder in which you saved your files.

After choosing the location, click on the “Print to PDF” icon. This is a shortcut to a PDF file and will allow you to save your PDF file as a PDF. This feature allows you to print a document without a printer. It will also automatically create a PDF file with all of your documents. Moreover, it is much easier to manage than printing a document. You can make any changes in the name of the PDF after enabling the option.
Enable Windows 10 Print To PDF:
If you’re having problems saving a PDF file, you might have an issue with Microsoft Edge. This is because the Edge often saves the PDF file to the Documents folder. To fix this problem, you should check C: Users’% username% to see the saved PDF file. If you can’t find the saved PDF, you can try looking for the files in the “Users Documents” folder.
Print To PDF (Windows):
- Open the file in the Windows app.
- Select File> Print.
- Select Adobe PDF as a printer in the print dialog box.
- To customize Adobe PDF printer settings, click the Properties (or Favorites) button. …
- Click Print. Type your file name, then click Save.
To enable print to PDF in Windows 10, open the Device Manager. Then click “Printing” and then click “Print to PDF” to see your options. Once you have chosen the appropriate output directory, you can now choose the desired settings and save documents. If you’re a Windows user, you should enable the option and save documents as PDFs. You’ll find a list of printer drivers in the Devices and Printers dialog.
Leave a Reply